I was assigned to write a portion of a help manual for a word processor of my choice. I chose Google's document editor, it seemed more interesting and more of a challenge to me. In this sample I explain how to text wrap an image
I feel this one isn't my best material, I was still getting my lead out as a writer. To view something closer to the original layout the download link to the full document is at the bottom.
I feel this one isn't my best material, I was still getting my lead out as a writer. To view something closer to the original layout the download link to the full document is at the bottom.
4. Text wrapping an image
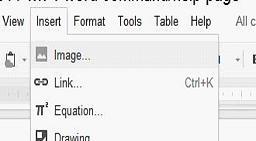
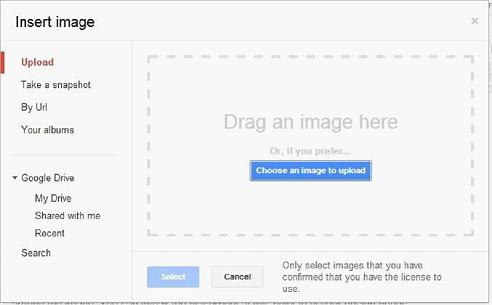
To text wrap, place your cursor near the desired area and click. Then go to Insert, Image. A window will pop up asking you for some details on your image choice.
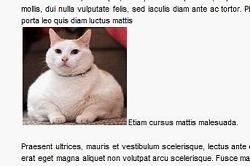
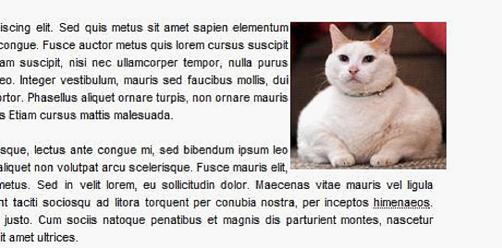
The default inline image placement can be a tad messy
The usage of text-wrapping can be used to smooth the overall document appearance.
Click the image that you have just placed.
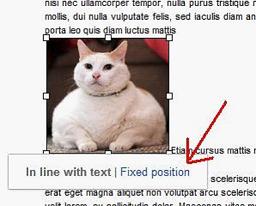
Select the image by clicking near the inside of the border of the image with the mouse.
There will be two options:
“In-line with text” and
“Fixed position”
Using “Fixed position” will enable the text to wrap around the image regardless of where the image is placed.
Then, simply drag the image to the area where you need it. The text will automatically displace around the image. You can tweak the placement at this point to fit your design needs. Simply drag and drop the image and the text will realign.
| engl2311wk4wordcommandhelppage.pdf |
 RSS Feed